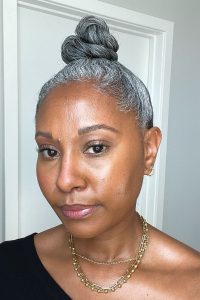
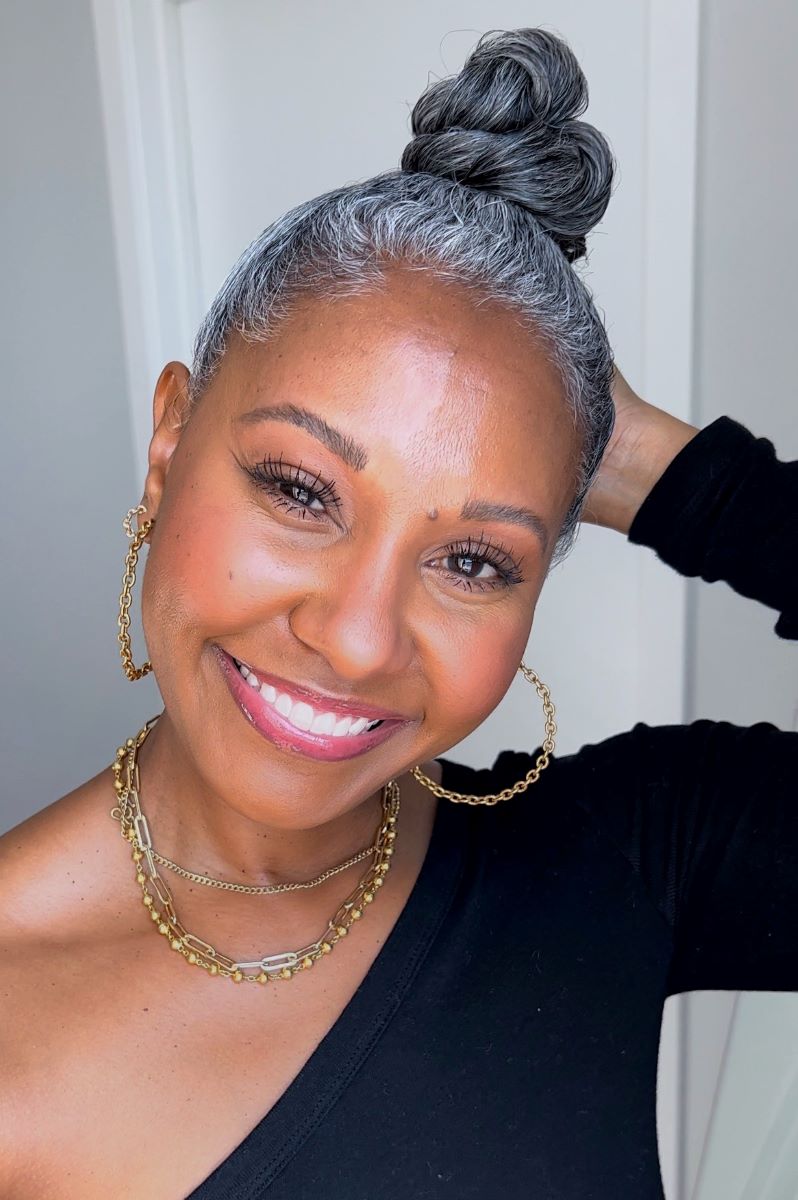
Super Natural Sculpting that Anyone Can Do
I know what you’re thinking, contouring can be intimidating. And yes, even a bit unnatural looking. But you know what, it doesn’t have to be that way. You know me darlings, I love a natural makeup look and so I’m going to show you how to achieve super natural sculpting that anyone can do using products I found at Sephora!
STEP 1: CONTOUR
What I’m using:
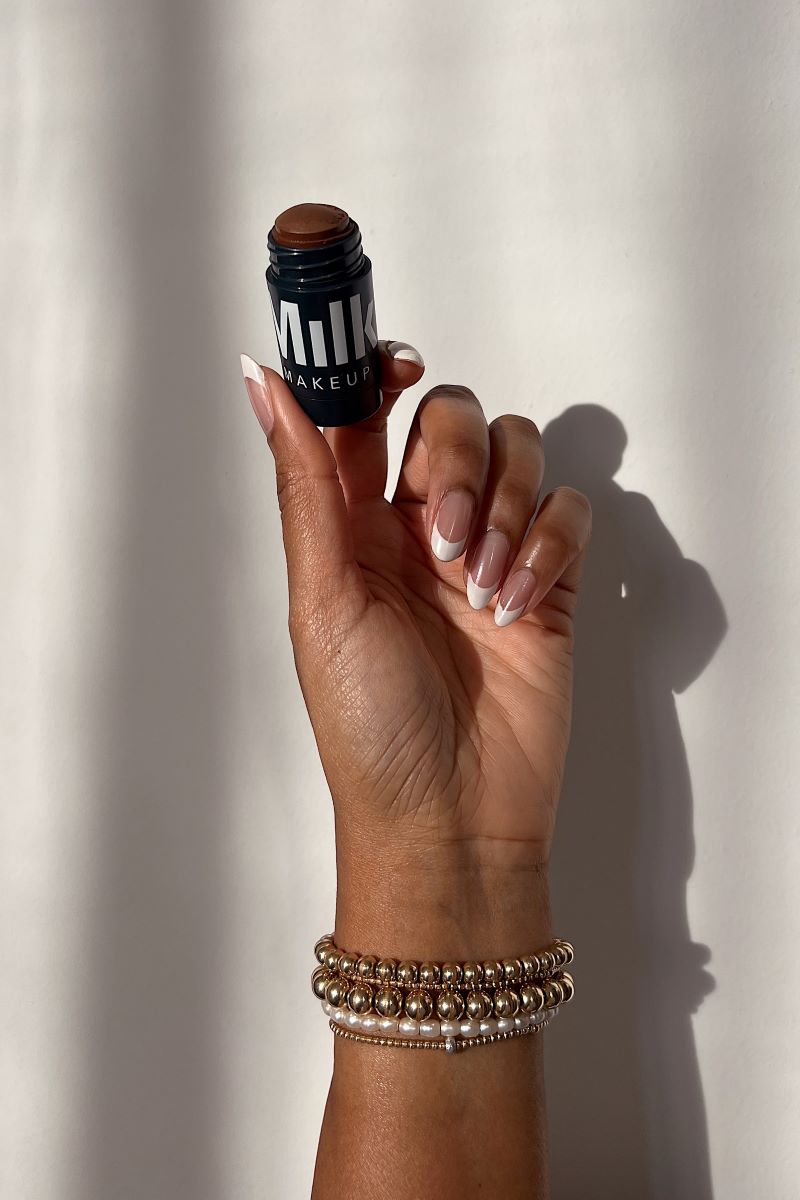
- MILK MAKEUP Sculpt Cream Contour Stick in Shade Simmer. I love this product because it’s light, creamy and so easy to blend.
- Brushes: Sephora Collection Pro Contour Brush #79 and Pro Crease Brush #27
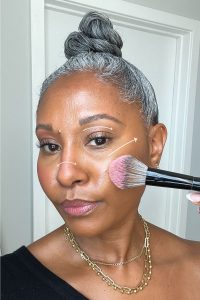
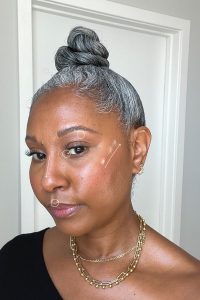
Areas I like to contour: Along the sides of my nose and cheeks
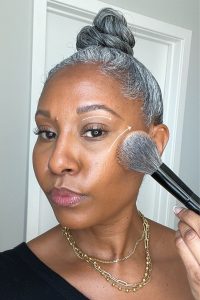
How to: Apply contour to each side of your nose and along your cheeks as shown above. Take your big fluff brush (#79) and blend the concealer on your cheeks using a circular motion. Next, using the smaller fluff brush (#27) blend the concealer along the nose area using the brush in a vertical/up and down sweeping motion.
Tips for Choosing the Right Contouring Shade: You want to select a shade in your undertone that’s a few shades darker than your skin. Undertones are usually cool, warm, or neutral. You can determine your undertone by looking at the color of the veins on the inside of your wrist.
- Cool undertone = blue or purple veins
- Warm undertone = green veins
- Neutral undertone = mixture of blue/purple and green veins
STEP 2: BRONZER
What I’m using:
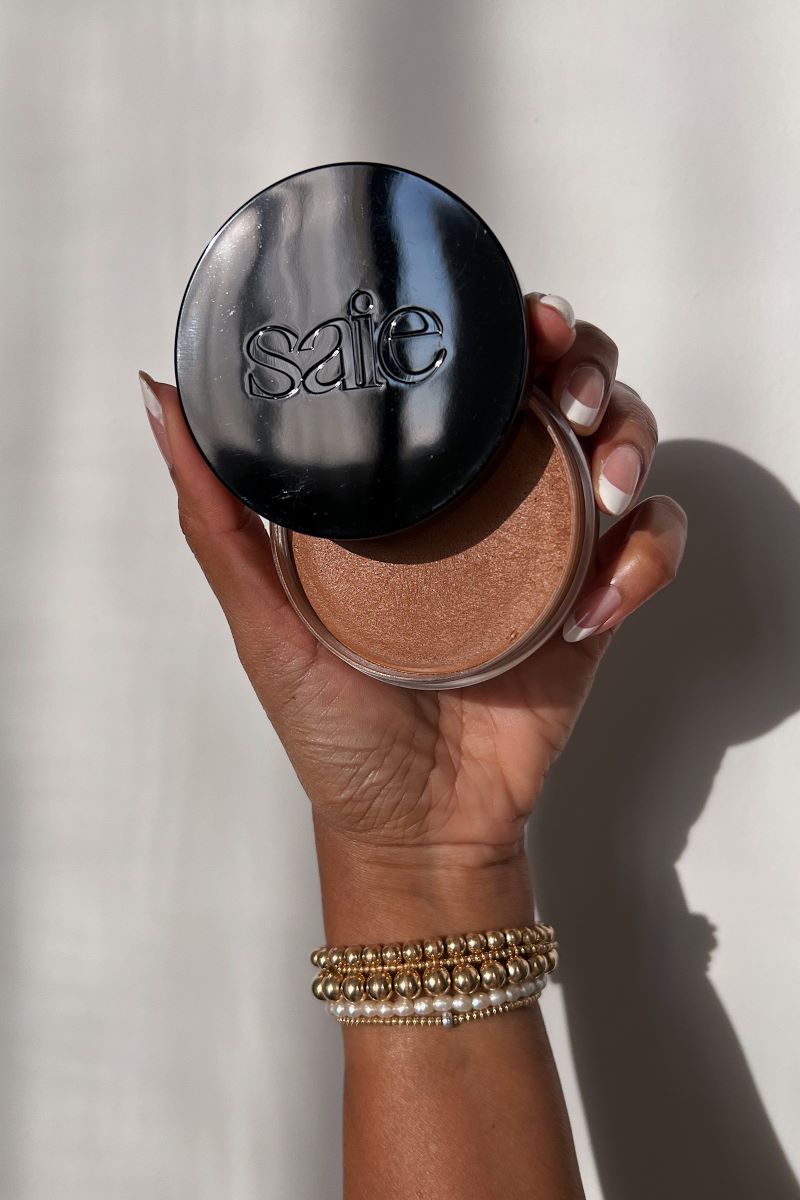
- Saie Sun Melt Cream Balm Bronzer in shade Medium Bronze. I love this product because it checks all the boxes for me – it’s light, it’s creamy and blends in so beautifully.
- Brushes: Sephora Collection Pro Powder Brush #59 and Pro Crease Brush #27
Areas I like to apply bronzer: In general, you can apply bronzer to the high points of your face where you naturally tan (e.g. cheek bones, nose, and temples). For this natural look, I’m going to apply the bronzer to my cheek bones & upper eye lids as shown in the photo above.
How to: Using my powder brush (#59), I apply my bronzer in a sweeping motion to my cheek bone area. Then I take my smaller brush (#27) and apply to my upper eye lids for a little warmth.
Tips for Choosing the Right Bronzer Shade: A good bronzer shade will give you a sun-kissed look. You’ll want it to look natural, so the goal is to choose a shade that’s 1-2 shades darker than your skin tone. Just like with contouring, you’ll want to use your undertone to help determine the right shade for you.
- Cool undertone: choose shades that are pink, beige, soft peach or soft brown
- Warm undertone: choose shades that are golden, peachy, or yellow
- Neutral undertone: choose shades that are brown based but best to avoid pink and yellow tones.
STEP 3: BLUSH
What I’m using:
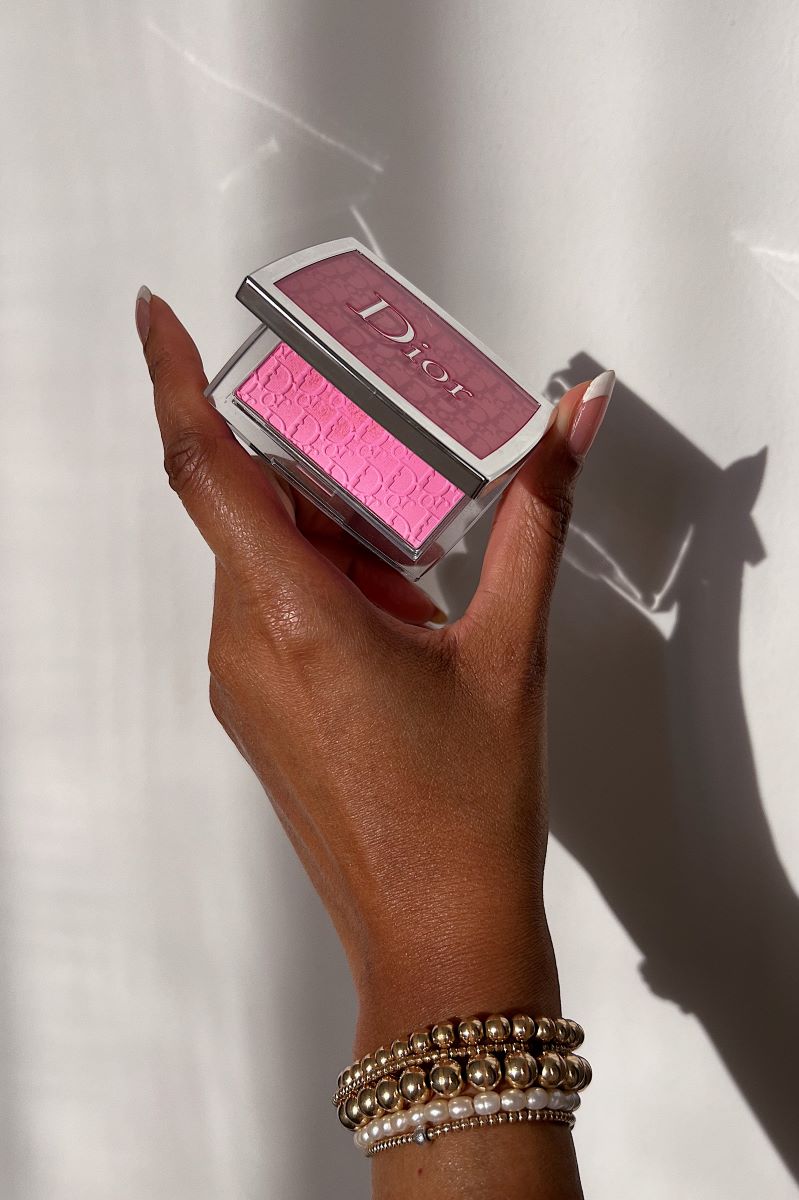
- Dior BACKSTAGE Rosy Glow Blush in shade 001 Pink. The pigmentation on this blush is very buildable. I love how this shade has a berry tone rather than a true pink on my darker skin.
- Brushes: Sephora Collection Pro Blush Brush #96
Areas I like to apply blush: You darlings know I’m a blush girl! To pull this look together, I applied the blush to my cheeks, nose bridge and eyelids.
How to: Using my blush brush (#96), I tap the blush onto my cheeks, nose bridge and eyelids.
STEP 4: HIGHLIGHTER
What I’m using:
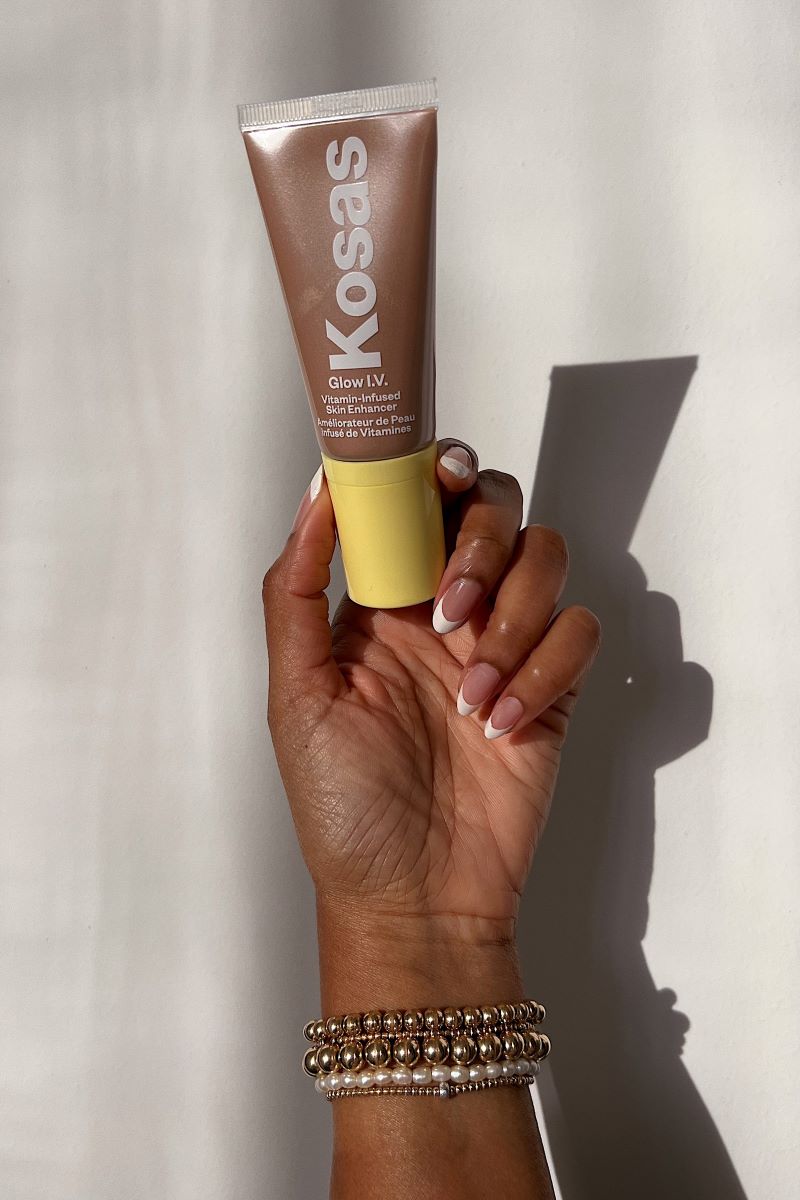
Kosas Glow I.V. Vitamin-Infused Skin Enhancer in shade Awaken. This one is 🤌🏽amazing! It’s so lightweight and easy to use. I love how it melts right into my skin.
Areas I like to apply highlighter: I apply highlighter to my cheek bones, nose, and cupids bow.
How to: This one is so easy to apply. I like to use my finger to tap it into my skin.
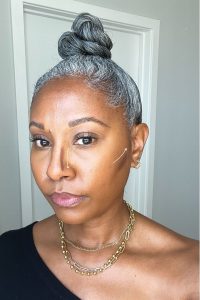
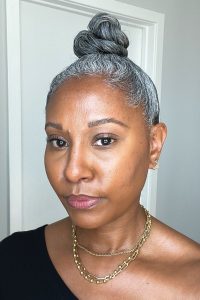
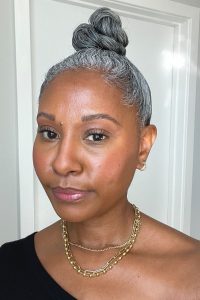
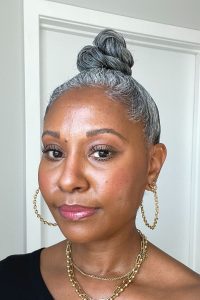
And voila! Forget about the contouring of the past – with this super natural sculpting technique you’ll still look like yourself, just a little more refined.
MY FINAL SUPER NATURAL SCULPTED LOOK
What do you think babes? Ready to give this super natural sculpted look a try? Click on any of the links above to shop these products at Sephora.com!

